
[k-holdem-flutter] analysis source-install
개요
k-holdem을 처음 설치하고 local에서 실행하는 것까지 다룬다. 대충 rough하게 정리한 note지만, 나중에 다시 정리할것이다. 여튼 처음 설치하는 사람들에게 guide가 될 수 있을 것이다.
git project clone
해당 repo를 clone한다.
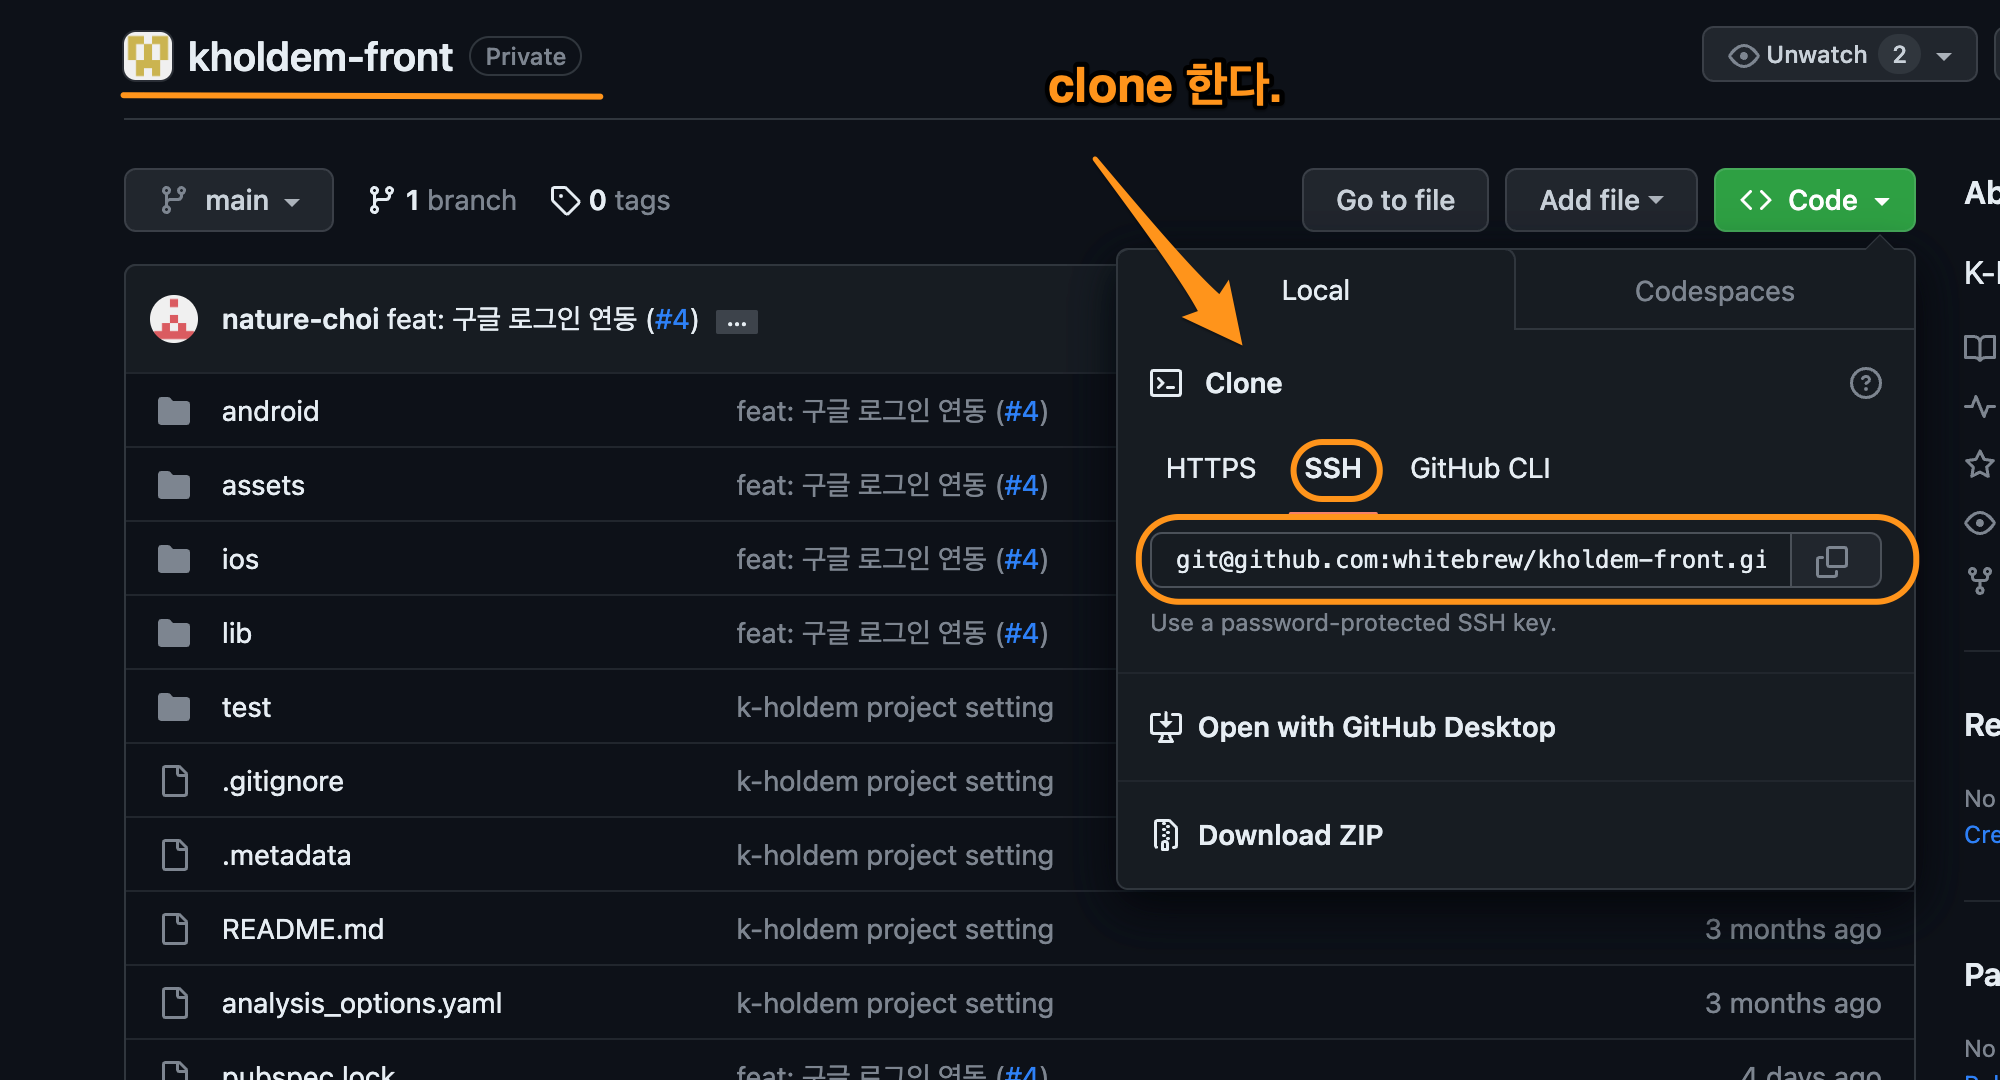
Figure 1: clone
아래 처럼 clone한다.
git clone git@github.com:whitebrew/kholdem-front.git
PS: 나는 postfix multiple github을 사용하기 때문에, github.com에 postfix를 붙여준다. email에 postfix붙여주는 것과 비슷하다. github.com은 하나의 host주소인데, 여러개의 account를 사용하기 때문에 postfix를 붙여줘서 구분한다.
git clone git@github.com-hoyoul:whitebrew/kholdem-front.git
prerequisite install
flutter 설치
여기 에 설치법이 나와 있다.
rosetta 설치
sudo softwareupdate --install-rosetta --agree-to-license
flutter SDK 설치
SDK는 intel과 silicon이 다르기 때문에, 구분에서 다운받아서 설치한다. 설치위치는 원하는 곳에 설치하면 된다. 내 경우 설치위치는 Document폴더에 WorkSpace를 만들고, root에서 접근할수 있게 link를 걸었다.
Run Flutter doctor
flutter doctor를 하면 부족한 utility를 알려준다.
flutter doctor
flutter doctor를 설치하면 welcome메시지가 나온다. 조금 기다리면 분석결과가 나온다.
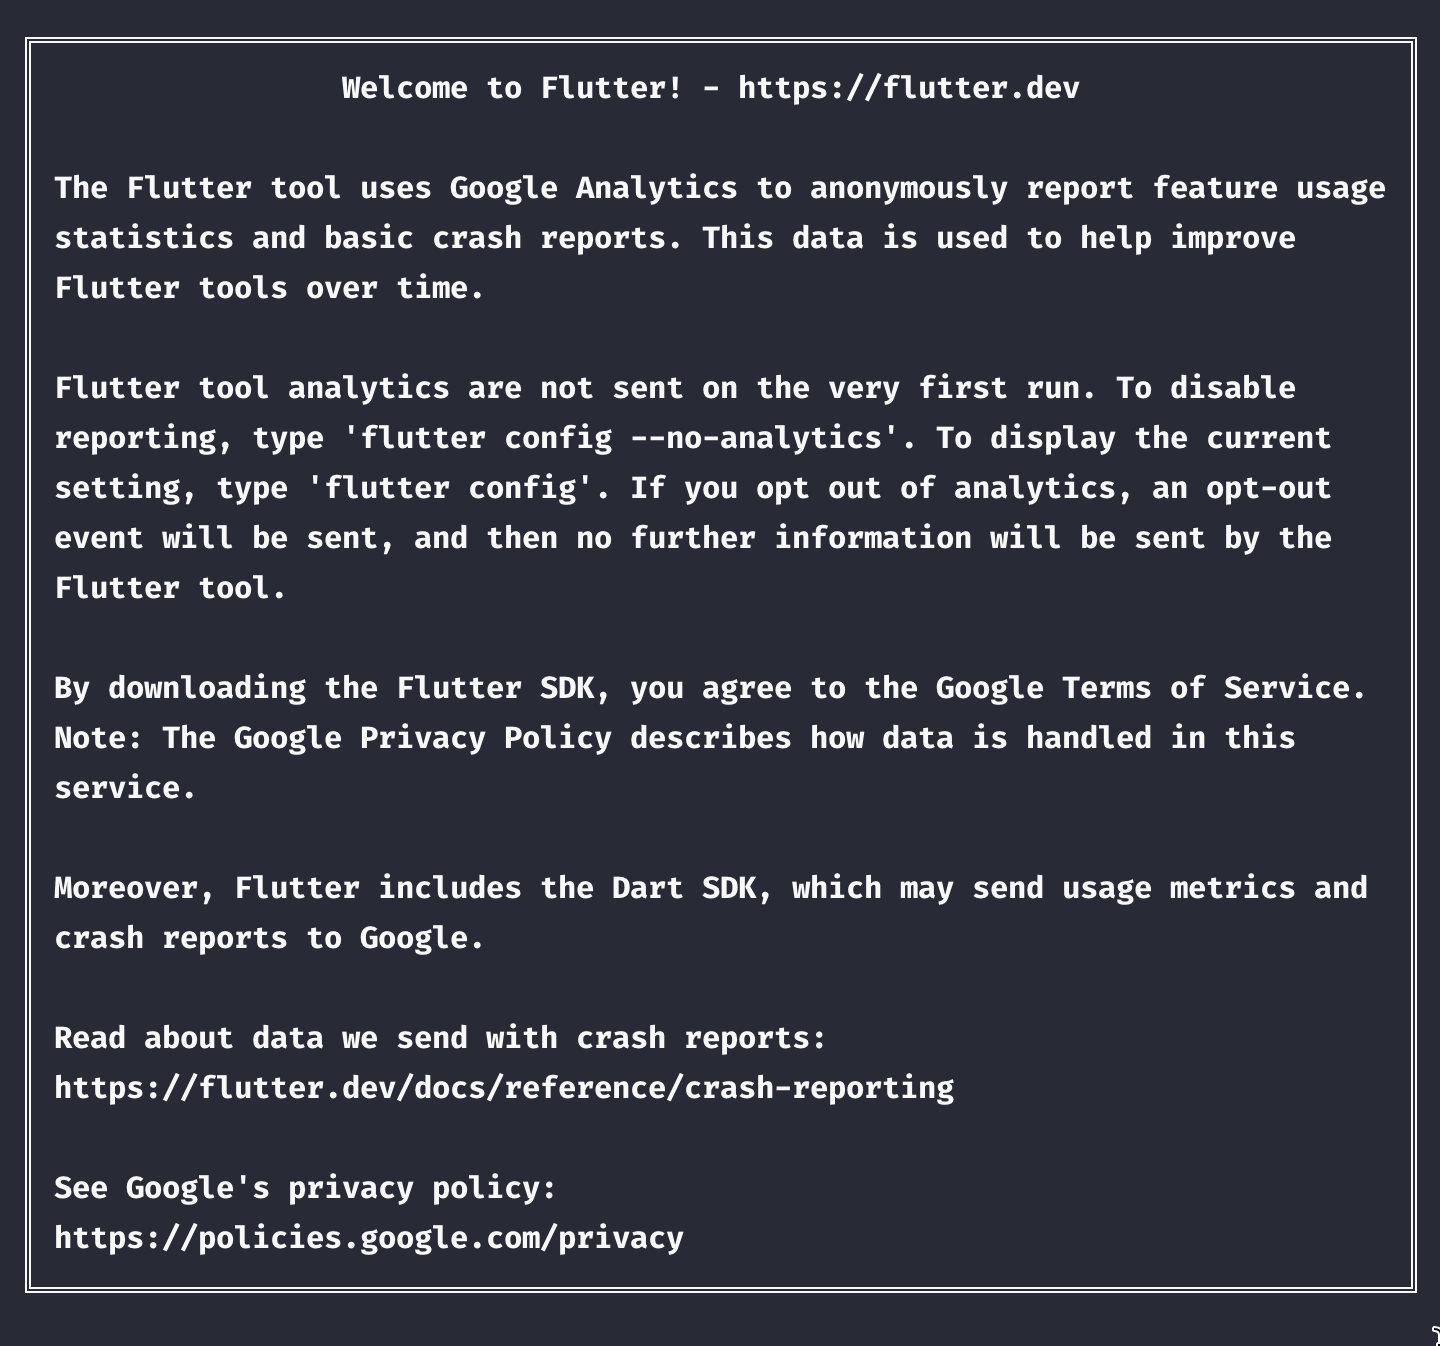
Figure 2: welcome1
분석 결과는 다음과 같다.
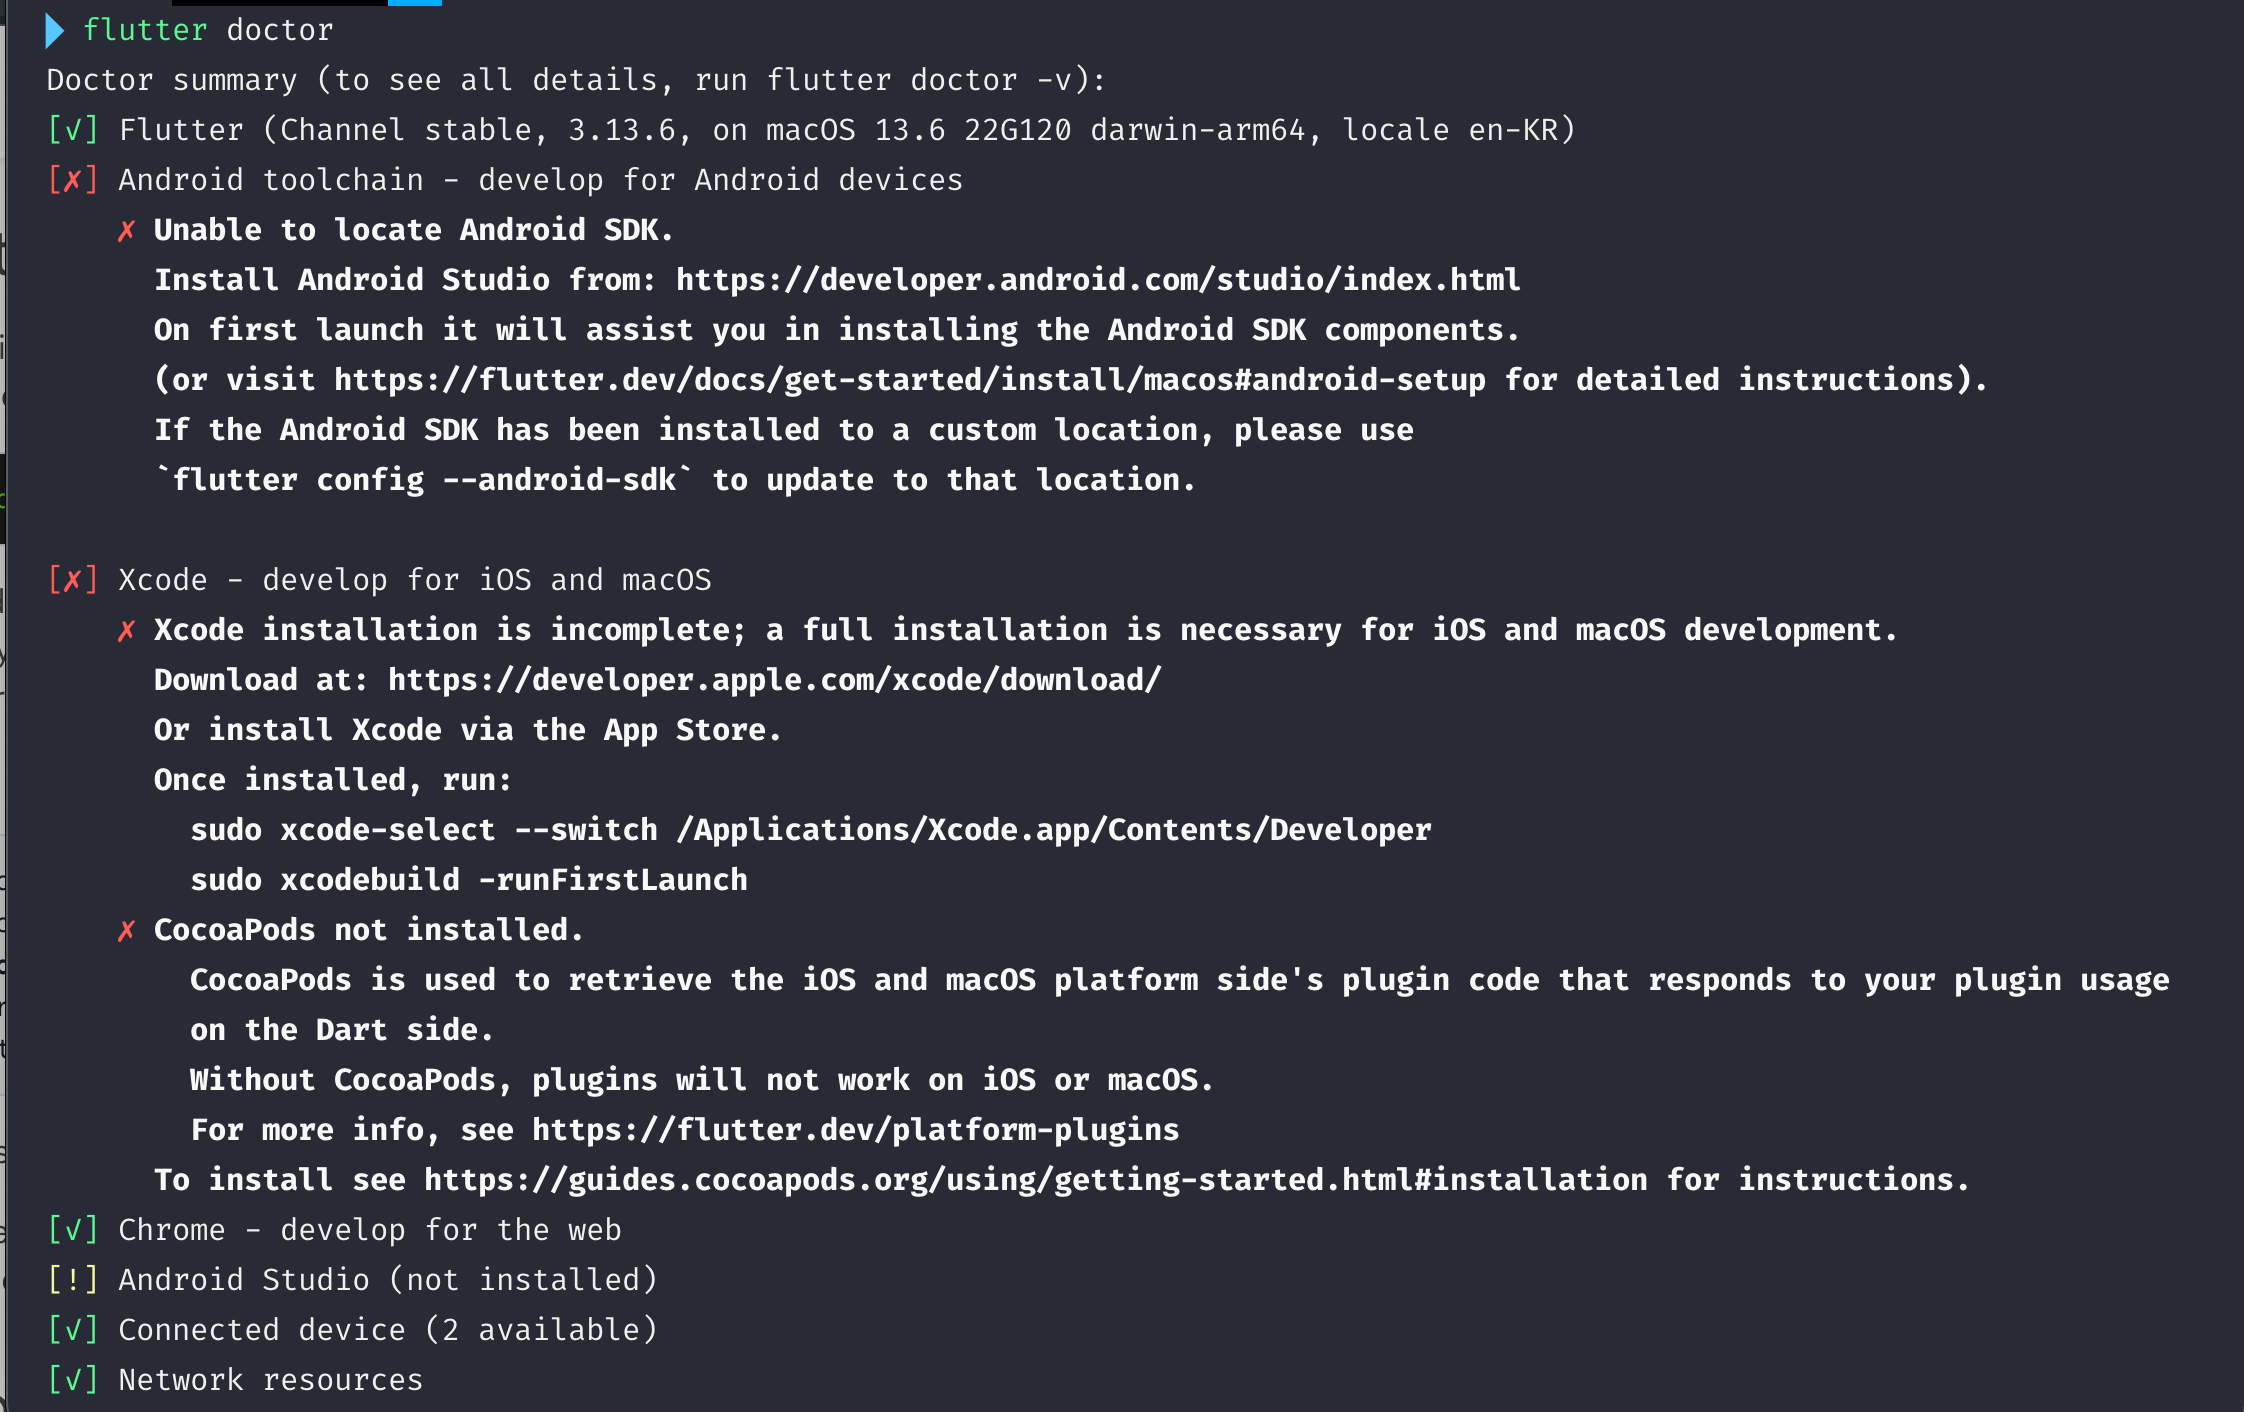
Figure 3: flutter doctor결과
이제 문제점을 해결해 보자.
android toolchain 문제
android studio를 설치하면 해결된다고 한다. 다운받아서 설치하면 된다. import setting은 하지 않고, 통계도 don’t send한다. 설치가 끝나고, sdk tools도 처리해야 한다.
cmdline-tools component is missing problem
이것은 cmdline tool을 설치해야 한다.
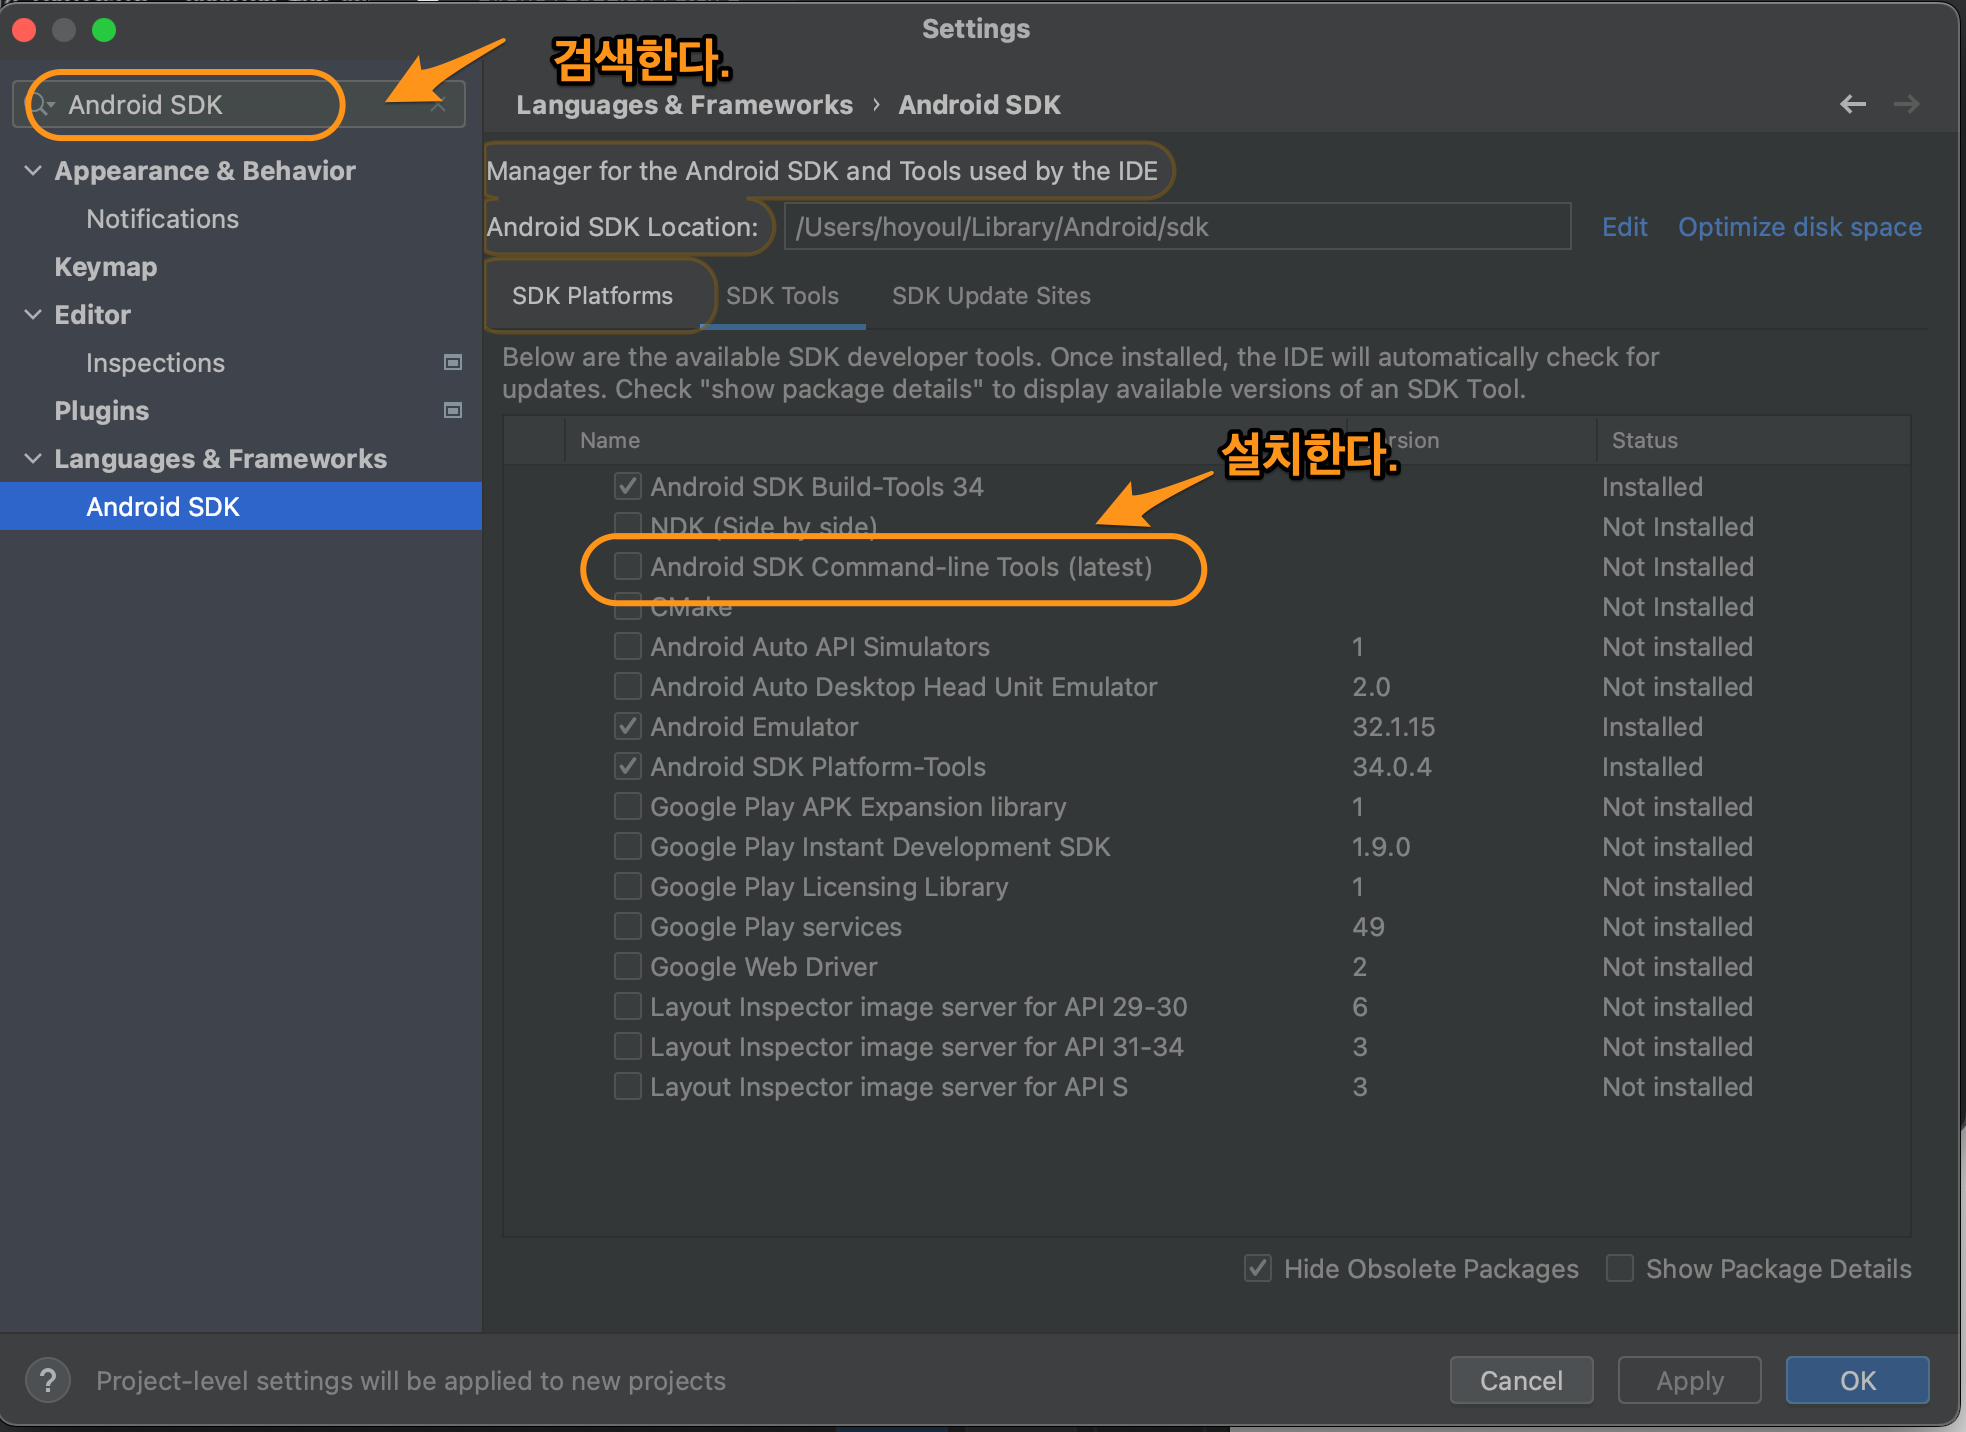
Figure 4: android SDK install
! Some Android licenses not accepted. To resolve this, run: flutter doctor –android-licenses
flutter doctor –android-licenses를 하고 y를 계속 누른다.
xcode 설치 문제
https://developer.apple.com/xcode/ 설치하고 다음 문제가 있다.
Xcode installation is incomplete; a full installation is necessary for iOS and macOS development.
위에서 나온대로 해결할 수 있다.
CocoaPods not installed.
sudo gem install cocoapods로 설치한다.
flutter doctor 완료 확인
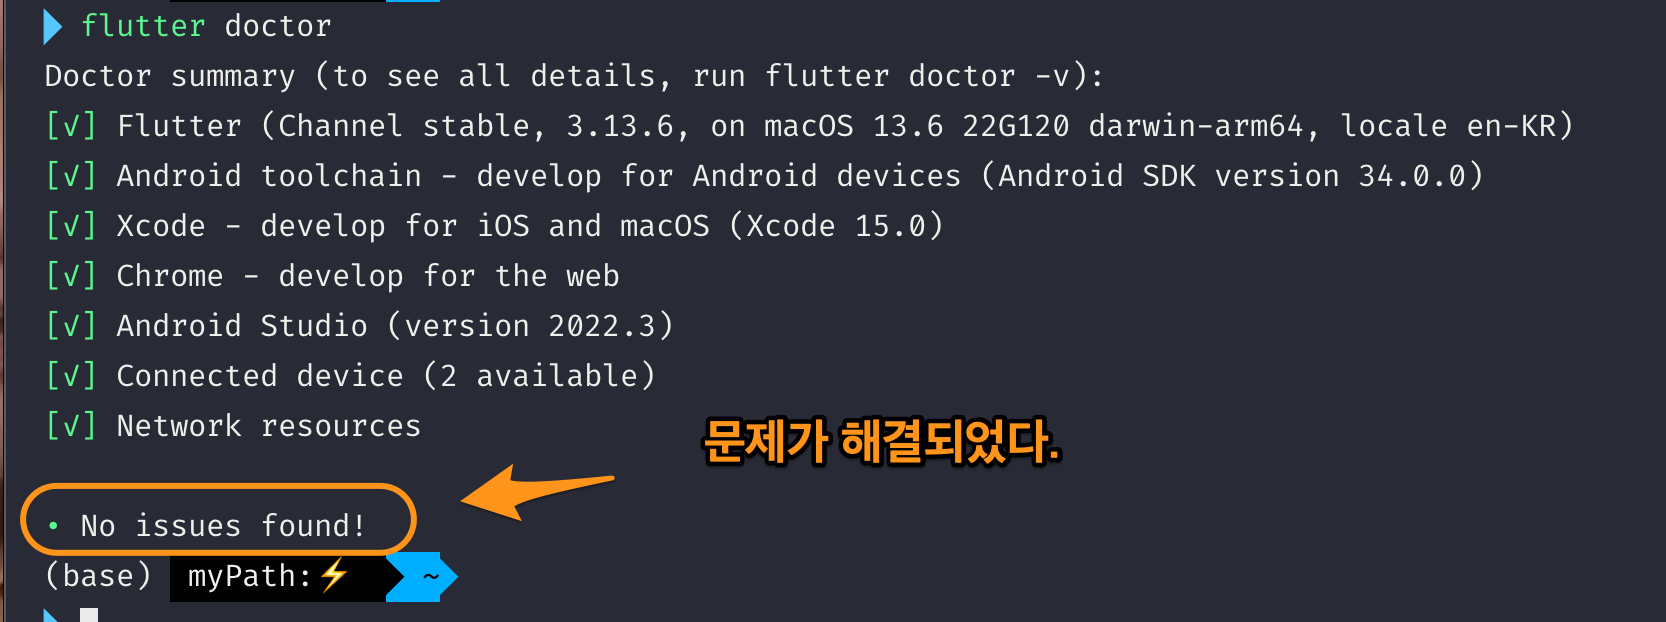
Figure 5: flutter doctor completed
android studio 설정
android studio를 실행하고, plugins의 marketplace에서 dart, flutter를 설치한다.
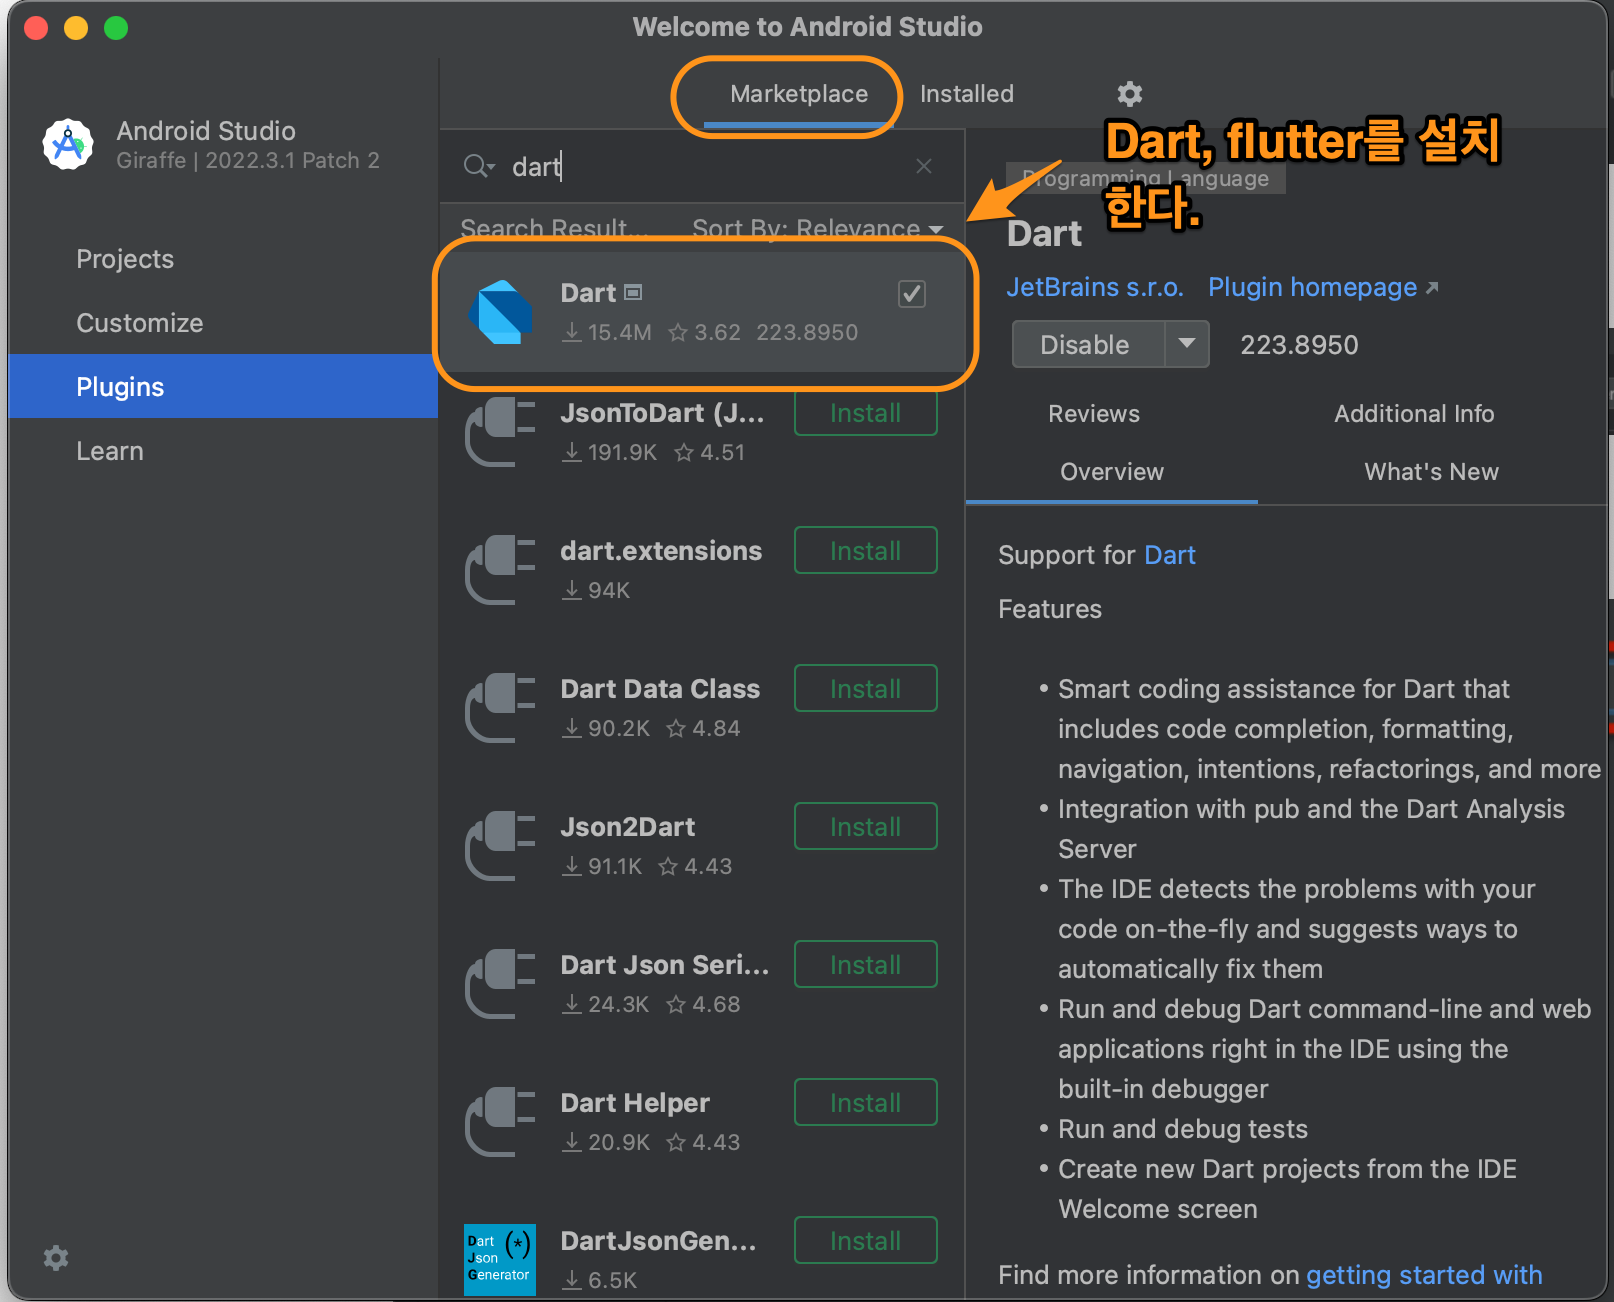
Figure 6: plugin
이렇게 하면 new flutter project가 보이게 된다.
[참고] jdk설치
android tool을 사용할때 java가 필요할 수 있다.
brew install openjdk
로 jdk를 설치한다.
project 실행
flutter pub get
project root로 이동해서 pubspec.yaml에 있는 package를 설치한다. android studio에서 해도 되고 shell에서 해도 된다. 난 shell에서 실행했다.
flutter pub get
project 실행
android studio에서 할수도 있고, shell에서 할수도 있다. 난 emacs를 사용하기 때문에 shell에서 실행했다.
IOS Simulator 실행
ios simulator를 띄어주고 실행하자.
open -a simulator
flutter run
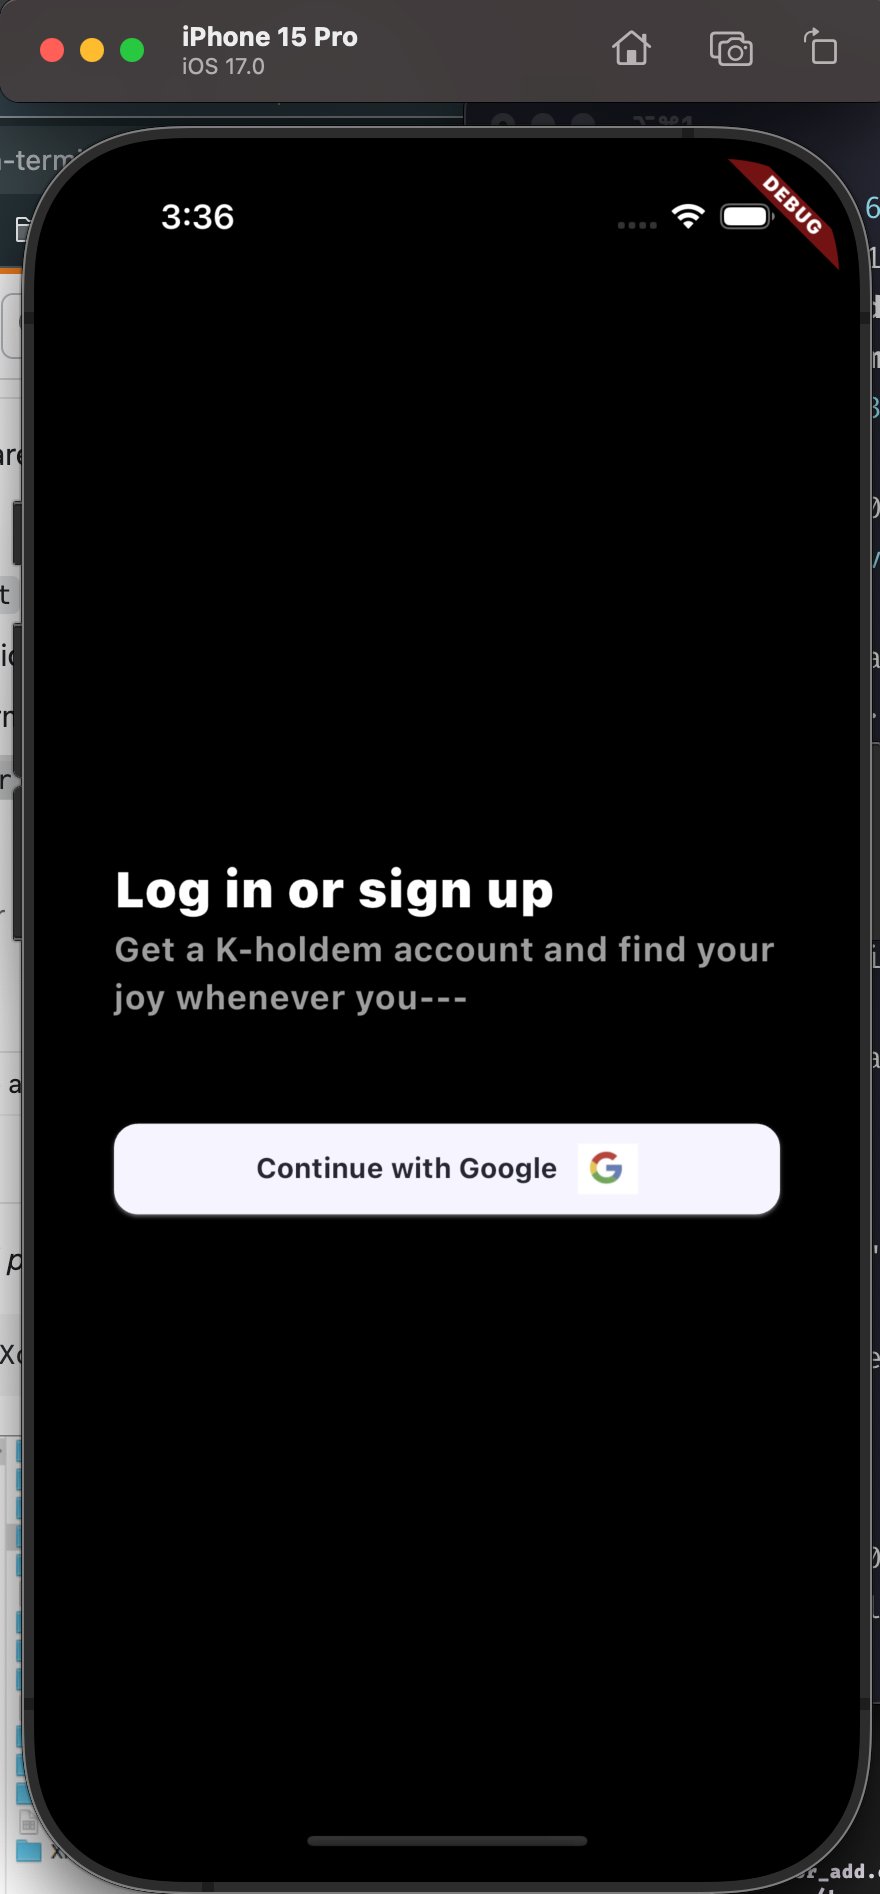
Figure 7: ios simulator
참고로 simulator를 바꿀려면
xcrun simctl list
원하는 simulator의 UDID를 복사한 후 다음과 같이 실행하면 된다.
open -a Simulator --args -CurrentDeviceUDID 987F89FE-6FB3-432E-BA87-4449592D4B99
Android Emulator 실행
android emuloator의 경우, sdk와 avd path가 .zshrc에 설정이 되어있어야 한다. 내 경우, emulator경로만 path에 넣었다.
export PATH="$PATH:/Users/hoyoul/Library/Android/sdk/emulator/"
설치된 emulator는 다음과 같이 확인한다.
emulator -list-avds
emulator의 실행은 다음과 같이 한다.
emulator @Pixel_7_API_34
실행 결과는 다음과 같다.
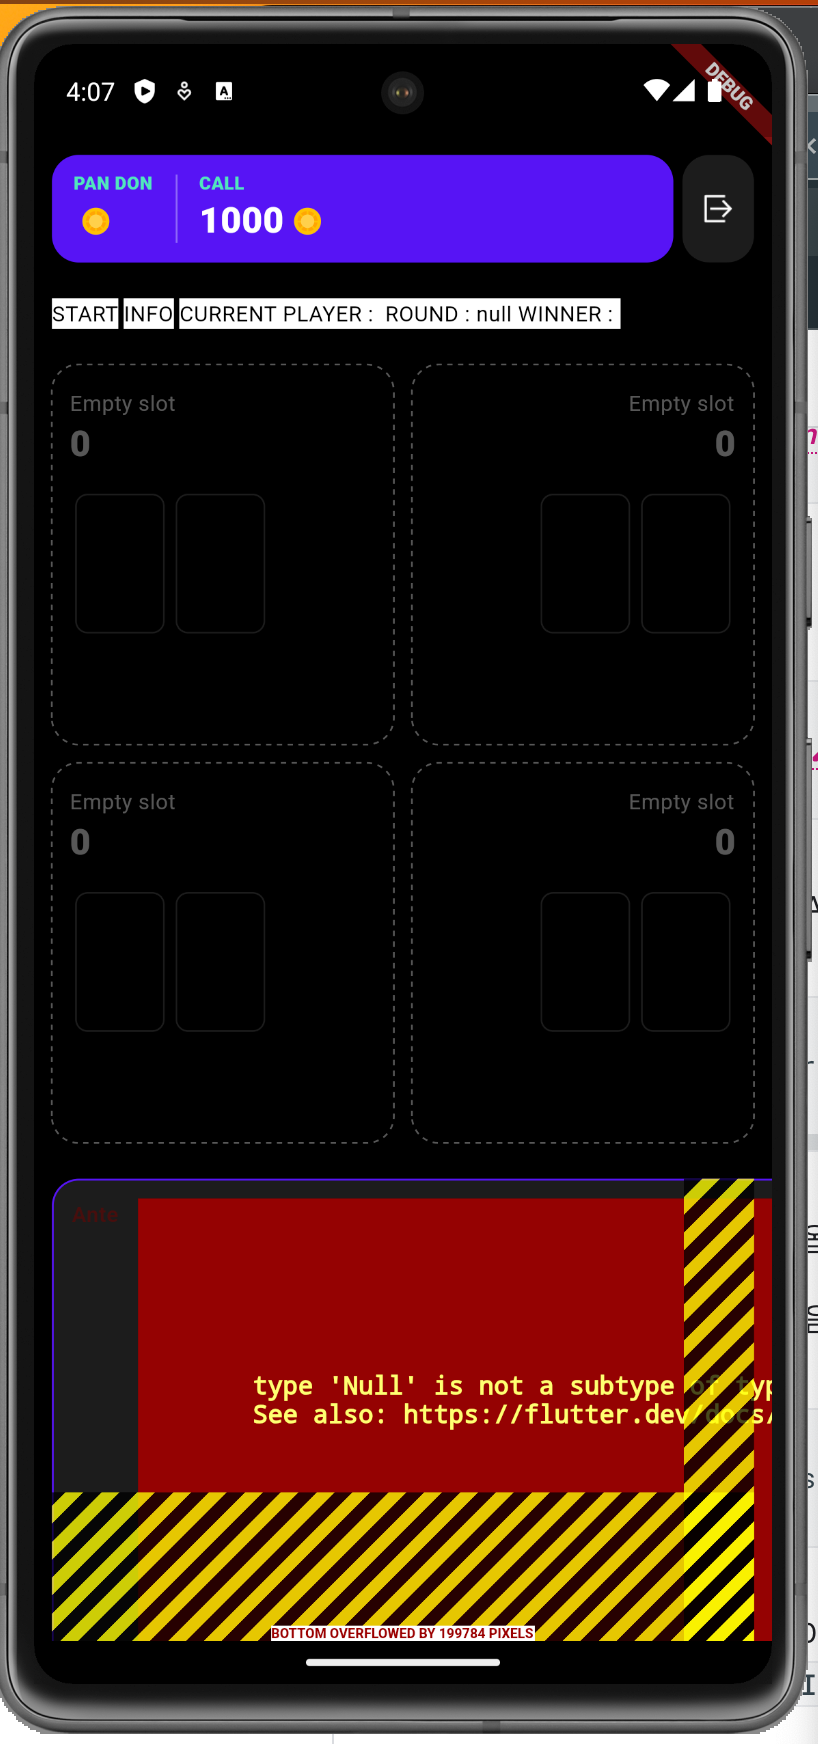
Figure 8: android emulator